
When creating Pinterest pins with BlogToPin, using the right images is crucial for engaging your audience
But sometimes your website just might not have the images you need.
This guide will walk you through the process of uploading, managing, and using custom images for your pins in BlogToPin.
Image Upload Options in BlogToPin
BlogToPin provides four main ways to add images to your account:
- Manual Upload
- Stock Images
- AI Generation
- Manage Existing Images
Let's explore each option in detail.
1. Manual Upload
Use this option when you have your own images ready to upload.
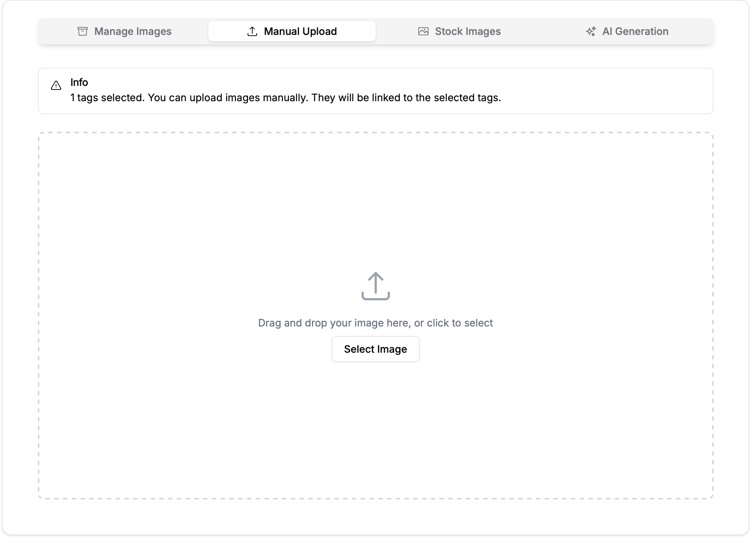
Steps:
- Navigate to your Dashboard and select your website.
- Go to the Storage tab.
- Click on "Manual Upload".
- Drag and drop images or select files from your computer.
You can press on the tags or on the pages to the right, so that you can instantly associate the images with certain tags or pages
2. Stock Images
This feature allows you to access a library of professional stock images(via Pexels).
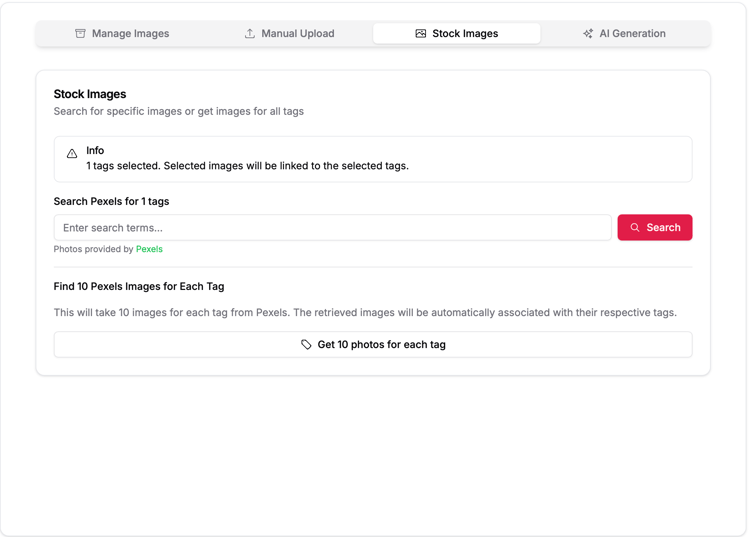
How to use:
- In the Storage tab, select "Stock Images".
- Use the search bar to find relevant images.
- Browse and select the images you want to use.
As always, you can press on the tags or on the pages to the right, so that you can instantly associate the images with certain tags or pages
Here's also available a "Bulk" button, which allows you to generate 10 stock images per each tag you have. You can click on the "pencil" icon on the right to the tag to see which prompts will be used on Pexels It can be useful if you have a people/scene related tags. But if you have something about specific recipes, objects, hardware - probably there won't be a good fit on stock
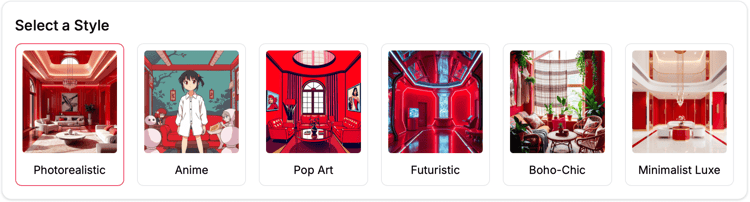
3. AI Generation
First of all, you can choose the style of the generated images. By default, it's "photorealistic", but you can choose "anime", "pop-art", "futuristic", "boho-chic", "minimalist-luxe"
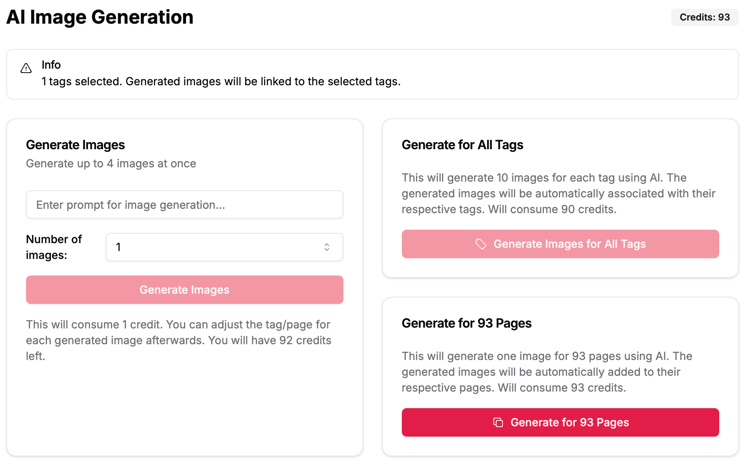
There are a few approaches to generate AI Images
- You can generate X images per each tag you have. It's good if you have different clusters of information, and within that cluster - image can be used for any of those. But it's not so good if each pages needs a specific image
- You can generate 1 image per each page you have. Each image will be tailored to the page, so it's super good
- You can generate images based on the description you have. If you want full control
4. Manage Existing Images
Organize and categorize your uploaded images efficiently.
Steps:
- Go to the "Manage Images" tab.
- View all your uploaded images.
- Associate images with specific tags or pages for easier pin creation.
- You can also delete images here
- If you like, you can also specify to set the image can be used for each page. Also useful if your pages are not very specific about the images
Let me know if you have any questions!

